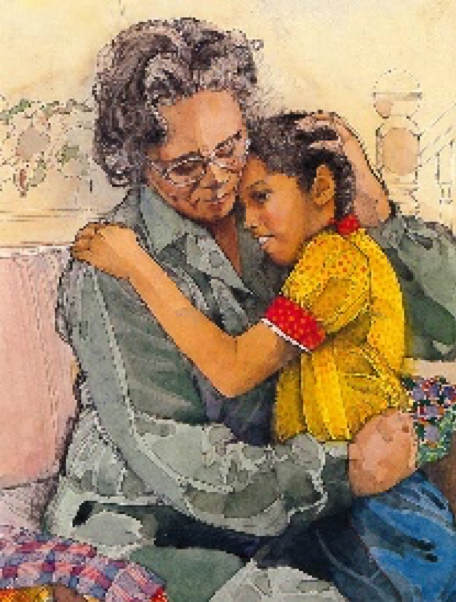
These examples from the museum show how many different designs quilts can have. You might remember the quilts we had in the museum during the summer of 2019 and how different they all looked. You can make a quilt in any pattern you can think of. What do you imagine Tanya’s quilt looks like?
Create
In The Patchwork Quilt, Tanya and her family use fabrics that remind them of their family and each other. Every family member has some squares, from Tanya’s Halloween costume to her mother’s Christmas dress. Make a several squares out of the fabric provided in your activity bag that represents you or someone else in your family. Think about what colors and shapes you can use, and what these colors and shapes could tell someone about you. If you do not want to use fabric, you could also design a quilt square on paper, and make a collage version of a quilt square.
Think about how you could design a square to represent yourselves and your family. What kinds of things could you use? Your favorite color? Family members’ favorite colors? Drawings in marker that represent each of your family members’ favorite things? Or drawings of them themselves?
Quilt making takes a lot of patience. Quilts have been made since long before sewing machines existed. That means that many quilts, including the one in The Patchwork Quilt, were sewn entirely by hand. Quilt making also requires a lot of focus — by making a quilt, you can practice concentration as well as hand-eye coordination and motor skills.
In order to make a quilt square, start by choosing a few colors of fabric (or paper if you are collaging!).
- Quilts usually have a decorative top layer (the squares), a plain backing material, and stuffing in between.
- For this project, it’s okay if you just want to create the front of a quilt square.
- If you want to make multiple quilt squares, you can sew them together and use another piece of fabric to create the backing.
- Make a pattern from a piece of paper or cardboard so all your squares are the same size.
- Put your pattern against an edge of your fabric, not in the middle. That way you will have less cutting to do, and more fabric to use!
- Trace around the edge of your pattern with a marker.
- Cut the fabric.
How to sew quilt squares together:
- Thread the needle — put the thread through the hole of the needle, match up the two ends of the thread, and tie a knot at the end of the thread.
- Line up the edges of two of your squares. Push the needle through the fabric, and pull the thread all the way through to the knot.
- You could make a whip stitch.
- Or a running stitch.
- Once you have finished sewing two sides together, take your needle off the thread and tie another knot on the back of the fabric. Some people make a knot by sewing through the same hole 3 or 4 times and then cutting the thread.
Quilt Blocks
Quilts use patterns to create their designs. How can you use patterns in your quilt square?
Simple Example
Start with a square. Draw a line from one corner to another, and you’ll get two equally sized triangles. This line is called the diagonal of the square.
Draw the other diagonal, and you have four equally sized triangles. Repeat this process with more than one color of fabric, cut the fabric along the lines you’ve drawn, and sew pieces of different colors together, and you have a beautiful quilt square!
More Complex Example
Here’s a more complicated design:
Start with a square. Split the square into thirds by drawing two lines. This will give you three rectangles of equal size.
Draw two more lines splitting the square into thirds from the other direction. This will turn your three rectangles into nine squares, all of equal size.
You could stop here, or you could make your pattern even more complicated by adding the diagonals we used in the first quilt!
Drawing a diagonal from one corner of the square to the opposite corner will cut the squares along that diagonal into two equal triangles. Adding the second diagonal between the other two corners gives you a design made up of large triangles, small triangles, and squares.
This design, if folded in half, would be the same on its top and bottom half and on its left and right halves. That makes it symmetrical!
You can add color to this design in a lot of fun ways. You can use only two colors and never have the same color touch, like I’ve shown here! This design appears to have two green triangles (on the top and bottom) and two blue triangles (on the left and right), each with a square inside.
(In order to make a pattern like this with more than one color of fabric, make these cuts in two different colors of fabric and use some pieces from each fabric. With this, you could end up with two quilt squares that have opposite patterns.)
Write
Grandma teaches Tanya that “quilts always remember.” Quilts can tell stories about the people who make them. If your family had a quilt, what stories would it tell? Write about your family. If you had a quilt in your living room, what would it see you do? Watch your favorite TV show with your whole family every week? Make a blanket fort with your siblings in the winter? Write about it.


